Mini Cheesecake Cups are creamy, rich, and surprisingly easy to make at home. With a buttery graham cracker crust and a silky cheesecake filling, these bite sized desserts are perfect for parties, holidays, or whenever you want a simple sweet treat.
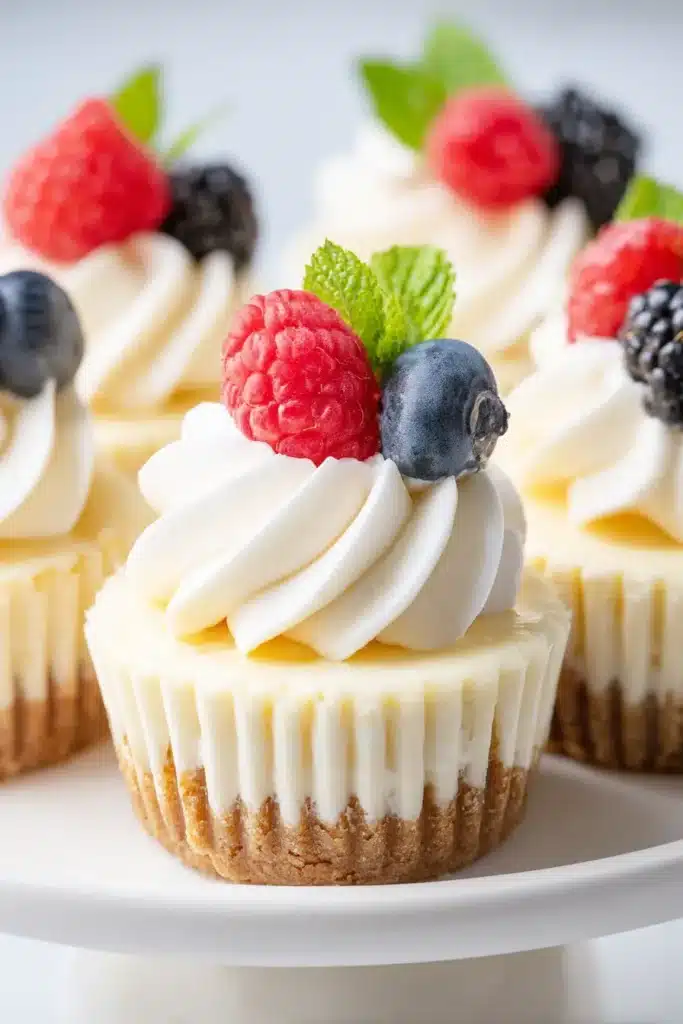
Table of Contents
Why You’ll Love These Mini Cheesecake Cups
These Mini Cheesecake Cups deliver all the flavor of a classic cheesecake in a convenient individual serving. Plus, they bake much faster than a full cheesecake.
Perfect Individual Sized Desserts
Everyone gets their own cheesecake, which makes serving simple. Also, there is no need to slice or plate a large dessert.
These Mini Cheesecake Cups look beautiful on dessert trays and buffet tables. As a result, they are a favorite for celebrations and family gatherings.
No Water Bath Required
Unlike traditional cheesecake recipes, these Mini Cheesecake Cups require no water bath.
Because they are smaller, they bake evenly and quickly. Therefore, you can enjoy homemade cheesecake with much less effort.
Creamy, Smooth, and Rich Texture
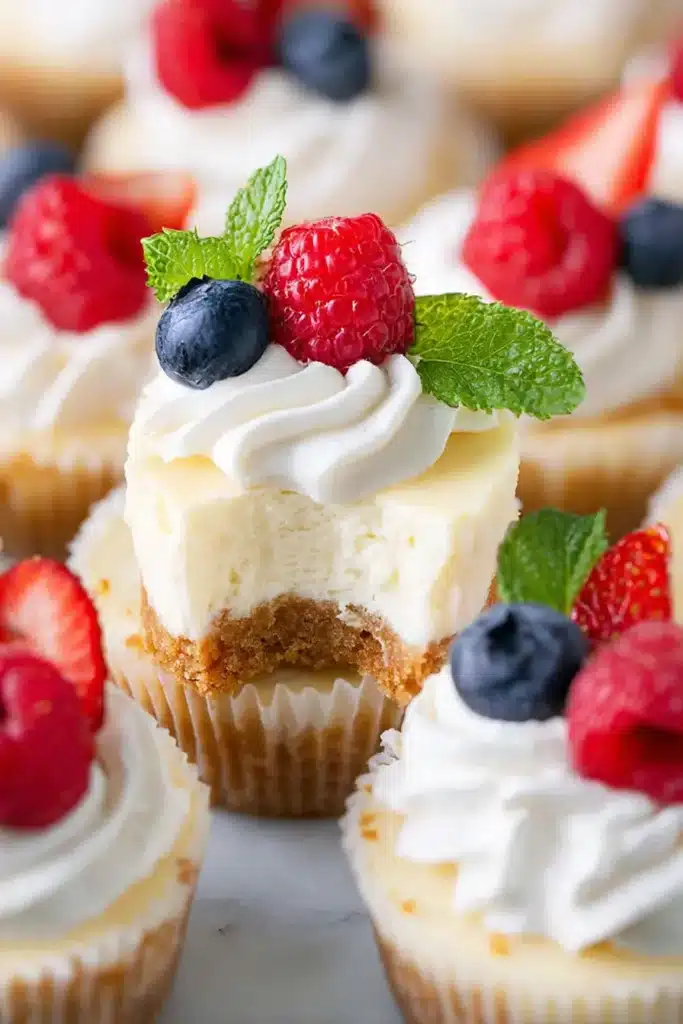
The filling stays smooth and velvety when you use softened cream cheese and avoid overmixing.
Meanwhile, the graham cracker crust adds a buttery crunch that pairs perfectly with the creamy center.
Easy to Customize with Different Toppings
You can top Mini Cheesecake Cups with fresh berries, whipped cream, chocolate sauce, caramel, crushed cookies, or candy pieces.
In fact, every batch can look completely different depending on the occasion.
Great for Parties, Holidays, and Make Ahead Desserts
Since these cheesecakes chill beautifully, you can prepare them in advance.
As a result, they are ideal for birthdays, holiday dinners, baby showers, and potlucks.
Ingredients for Mini Cheesecake Cups
These Mini Cheesecake Cups use simple ingredients that you can find in almost any grocery store.
Ingredients for the Graham Cracker Crust
Graham cracker crumbs create a sweet and buttery base.
Melted butter helps bind the crumbs together and creates a crisp crust after baking.
Ingredients for the Cheesecake Filling
Full fat cream cheese gives the filling its rich and creamy texture.
Granulated sugar sweetens the cheesecake without overpowering the flavor.
Vanilla extract adds warmth and classic cheesecake flavor.
Eggs help create structure while keeping the filling smooth.
Topping Ideas for Serving
Whipped cream adds a light and fluffy finish.
Fresh fruit provides color, freshness, and a delicious contrast to the rich filling.
Kitchen Tools You’ll Need
Making Mini Cheesecake Cups requires only a few basic kitchen tools.
Essential Equipment for Mini Cheesecakes
A standard muffin pan
Paper liners
Mixing bowls
Electric mixer
Measuring cups and spoons
Cooling rack
Helpful Tools for Easy Preparation
A cookie scoop helps divide the batter evenly.
Meanwhile, a flat bottom glass makes pressing the crust easier.
How to Make Mini Cheesecake Cups
Prepare and Pre Bake the Crust
Preheat your oven to 350°F (175°C). Line a standard muffin pan with paper liners.
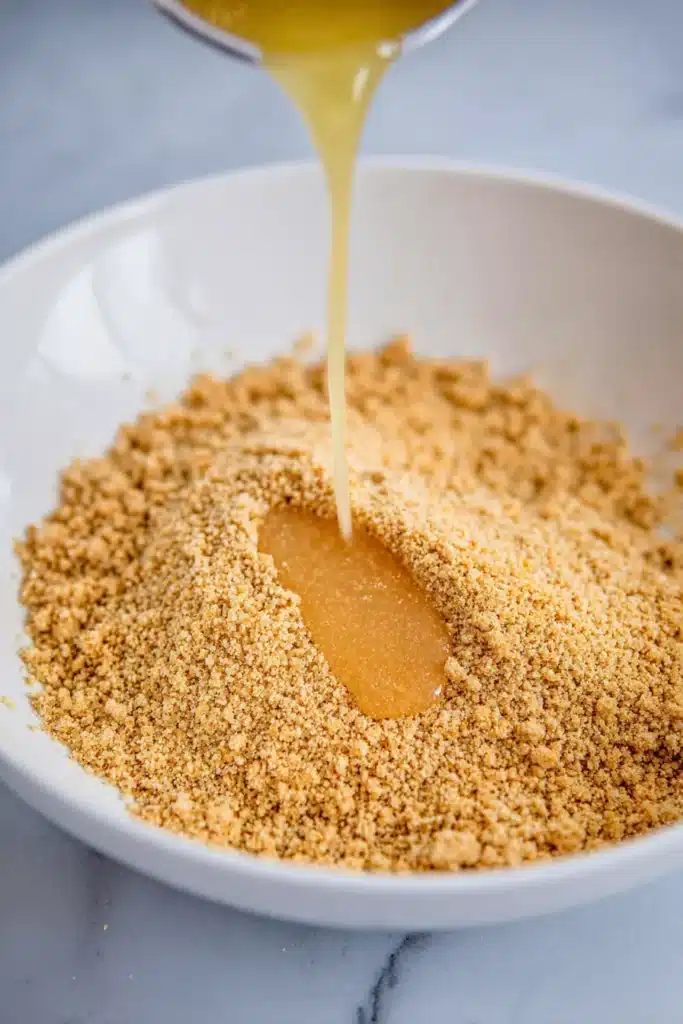
Mix the graham cracker crumbs and melted butter until evenly combined. Then place 1 to 2 tablespoons of the mixture into each liner and press firmly into the bottom.
Bake for 5 minutes. Next, allow the crusts to cool.
Make the Cheesecake Filling
Beat the softened cream cheese and sugar until smooth and creamy.
Then mix in the vanilla extract.
Next, add the eggs and stir only until incorporated. Avoid overmixing because extra air can lead to cracks.
Fill the Muffin Cups
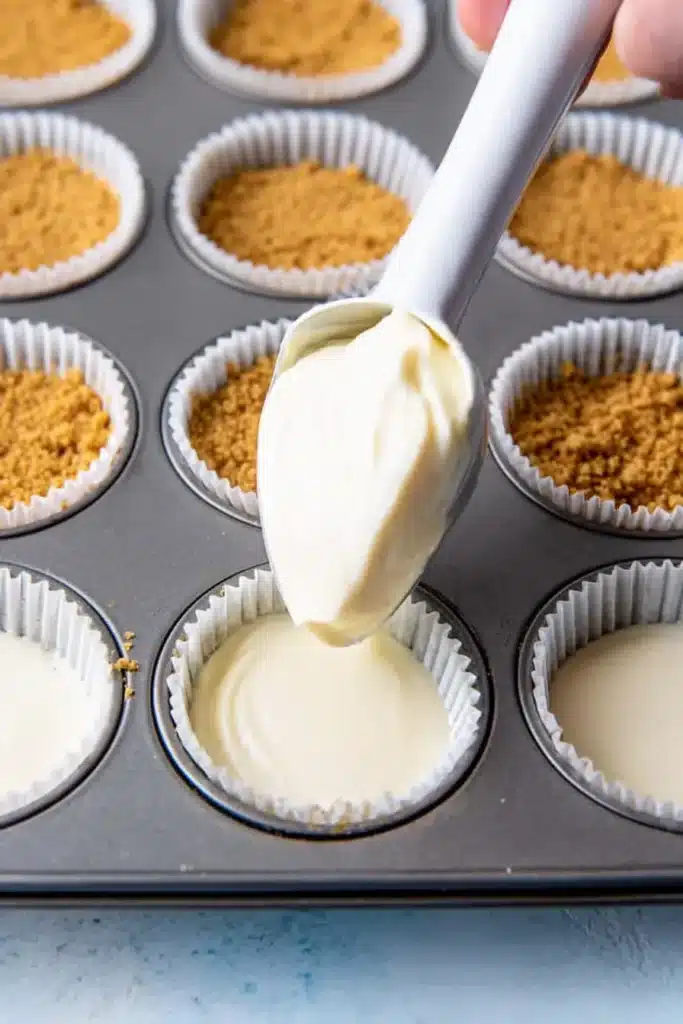
Divide the cheesecake batter evenly among the prepared muffin cups.
Fill each cup nearly to the top for the best shape and appearance.
Bake Until Perfectly Set
Bake for 15 to 17 minutes.
The centers should appear slightly set while still having a gentle jiggle. Therefore, avoid baking until completely firm.
Cool and Chill for the Best Texture
Allow the cheesecakes to cool completely at room temperature.
Then refrigerate for at least 4 hours.
If possible, chill them overnight because the flavor and texture improve even more.
Add Toppings and Serve
Just before serving, add whipped cream and your favorite toppings.
Meanwhile, keep any fruit toppings chilled until needed for maximum freshness.
Expert Tips for Smooth and Crack Free Mini Cheesecakes
Why You Should Avoid Overmixing the Batter
Once you add the eggs, mix only until combined.
Too much mixing incorporates excess air. As a result, the cheesecakes may crack or sink.
How to Know When Mini Cheesecakes Are Done Baking
Look for centers that still jiggle slightly.
If the cheesecakes appear completely firm in the oven, they may already be overbaked.
The Best Cooling Method to Prevent Sinking
After baking, turn off the oven and crack the door slightly open.
Let the Mini Cheesecake Cups sit inside for 15 to 20 minutes. Then move them to room temperature before chilling.
What to Do If Cracks Appear
Small cracks happen sometimes.
Fortunately, whipped cream, fruit, chocolate sauce, or caramel can easily cover them.
Delicious Topping and Flavor Variations
Fresh Fruit and Whipped Cream Combinations
Try strawberries and whipped cream for a classic option.
Blueberries, raspberries, peaches, and cherries also taste wonderful.
Chocolate, Caramel, and Cookie Toppings
Chocolate ganache creates an extra rich dessert.
Meanwhile, caramel sauce adds buttery sweetness.
Crushed cookies bring texture and visual appeal.
Fun Cheesecake Flavor Ideas
Add lemon zest for a bright citrus flavor.
You can also stir in pumpkin spice, cinnamon, or almond extract for seasonal variations.
Crust Alternatives to Try
Replace graham crackers with Oreos for a chocolate crust.
Vanilla wafers create a lighter flavor.
Gingersnaps add a warm and spicy twist.
You can even skip the crust completely.
Storage and Make Ahead Instructions
How to Store Mini Cheesecake Cups in the Refrigerator
Store Mini Cheesecake Cups in an airtight container in the refrigerator.
They stay fresh for up to 1 week. However, they taste best within 3 to 4 days.
Can You Freeze Mini Cheesecakes?
Yes, these freeze very well.
Wrap them individually or place layers between parchment paper in a freezer safe container. Then freeze for up to 3 months.
How to Thaw for the Best Results
Transfer the cheesecakes to the refrigerator and thaw overnight.
Afterward, add toppings and serve as usual.
Frequently Asked Questions
Can Mini Cheesecake Cups Be Made Ahead of Time?
Yes. In fact, they are even better after chilling overnight. Therefore, they are an excellent make ahead dessert.
Do Mini Cheesecakes Need a Water Bath?
No. These Mini Cheesecake Cups bake beautifully without a water bath.
Why Did My Mini Cheesecakes Sink in the Middle?
Overmixing the batter or cooling too quickly can cause sinking.
Can I Make These Without a Crust?
Yes. The filling bakes perfectly even without a crust.
How Long Should Mini Cheesecake Cups Chill Before Serving?
Chill them for at least 4 hours. However, overnight chilling produces the best texture.
Other Recipes You May Enjoy
- Easy No Bake Fireworks Oreo Cheesecake Bars with a creamy filling and crunchy cookie crust
- Rich and festive Peppermint Bark Cheesecake recipe for holiday dessert lovers
- Quick and creamy Churro Cheesecake Bars with cinnamon sugar flavor
- Easter No Bake Mini Cheesecakes and other easy spring dessert ideas
- Soft and chewy No Bake Pumpkin Cheesecake Balls for bite sized cheesecake treats
- No Bake Cottage Cheese Brownie Batter Protein Bites with a creamy chocolate texture
Final Thoughts
These Mini Cheesecake Cups are a simple dessert that always impresses. They offer all the rich flavor of classic cheesecake while requiring much less time and effort.
For even more dessert inspiration, you can also browse my favorite recipes and ideas on Pinterest: pinterest.
Why These Mini Cheesecake Cups Belong in Your Dessert Rotation
Mini Cheesecake Cups combine convenience, creamy texture, and endless topping possibilities. Because they are easy to make ahead, simple to serve, and loved by almost everyone, they deserve a permanent spot in your dessert collection.
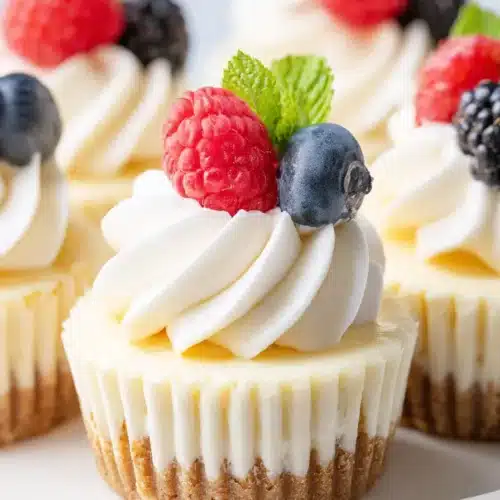
Mini Cheesecake Cups

Equipment
- Standard muffin pan For baking 12 mini cheesecakes
- Paper liners Prevents sticking and makes serving easier
- Mixing bowls For crust and filling
- electric mixer Creates a smooth cheesecake batter
- Measuring cups and spoons
- Cooling rack
Ingredients
- 1 cup graham cracker crumbs
- 4 tbsp unsalted butter, melted
- 16 oz full fat cream cheese, softened
- ½ cup granulated sugar
- 1 tsp vanilla extract
- 2 large eggs
- whipped cream, for topping
- fresh fruit, for topping
Instructions
- Preheat the oven to 350°F (175°C) and line a standard muffin pan with paper liners.
- Mix the graham cracker crumbs and melted butter until evenly combined. Add 1 to 2 tablespoons of the mixture to each liner and press firmly into the bottom.
- Bake the crusts for 5 minutes, then let them cool.
- Beat the cream cheese and sugar until smooth and creamy. Mix in the vanilla extract.
- Add the eggs and stir only until incorporated. Do not overmix.
- Divide the cheesecake batter evenly among the muffin cups, filling them nearly to the top.
- Bake for 15 to 17 minutes, until the centers are slightly set but still have a gentle jiggle.
- Turn off the oven and leave the cheesecakes inside with the door slightly open for 15 to 20 minutes. Then cool completely at room temperature.
- Refrigerate for at least 4 hours or overnight for the best texture.
- Top with whipped cream and fresh fruit just before serving.