A glossy chocolate mirror glaze turns any cake into a showstopper. With its rich shine and velvety texture, this recipe is perfect for Thanksgiving gatherings and guaranteed to wow your guests.
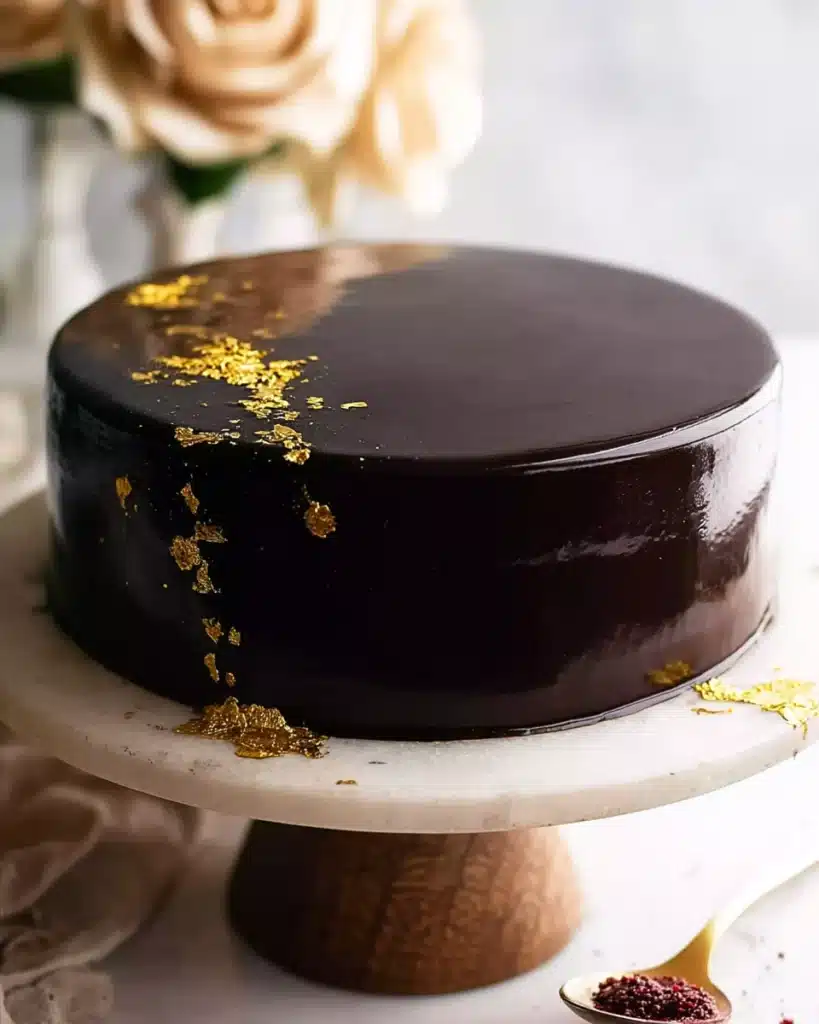
Table of Contents
Why This Chocolate Mirror Glaze is Perfect for Thanksgiving
Why This Chocolate Mirror Glaze is Perfect for Thanksgiving
Thanksgiving desserts are about comfort and celebration, and chocolate always finds its place at the table. A homemade chocolate mirror glaze transforms a simple cake into a centerpiece-worthy treat that shines on your holiday table.
It looks luxurious but is surprisingly easy to master with a little patience and timing. The glossy chocolate mirror glaze reflects light like polished glass, giving your cake that bakery-style finish guests will admire.
At the same time, the taste is smooth, not overly sweet, and balanced with just the right amount of cocoa richness. The glaze pairs beautifully with a moist chocolate base and adds elegance to the rustic Thanksgiving spread.
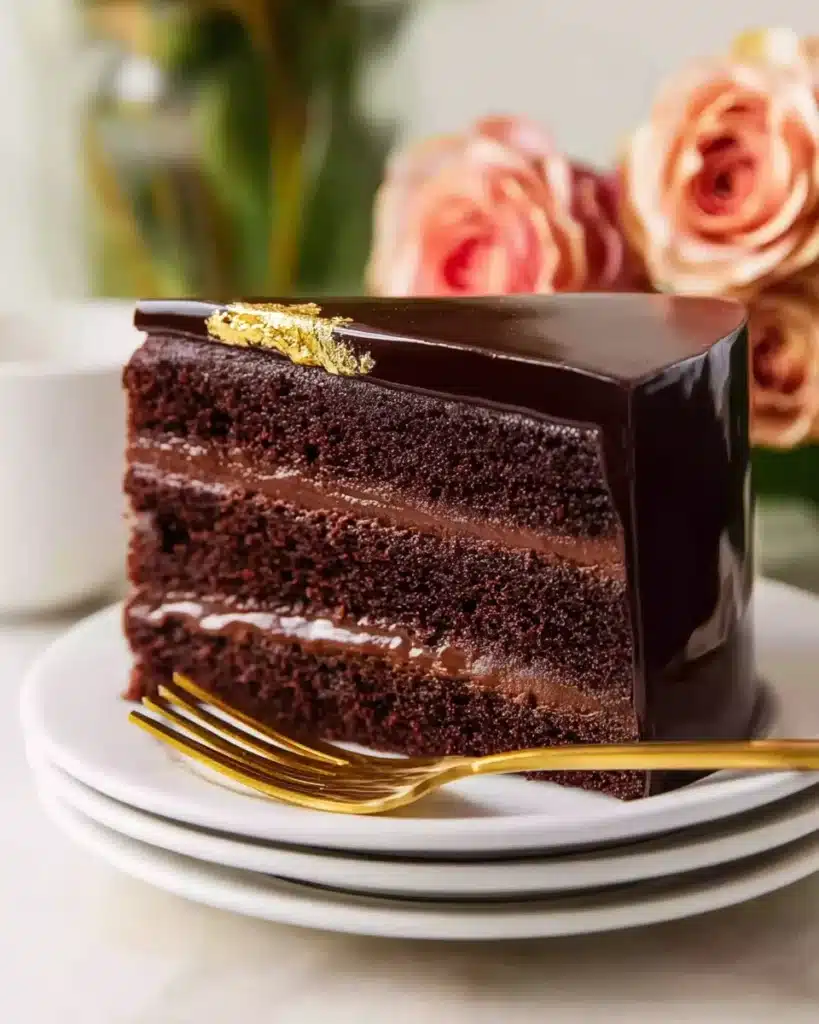
Even better, you can prepare the chocolate mirror glaze cake ahead of time, making this recipe convenient during a busy cooking day. Whether you keep it classic or add festive touches like gold leaf or dusting, this glossy glaze will bring a magical, celebratory feel to your Thanksgiving table.
Ingredients You’ll Need
Making a mirror glaze is all about precision, but the ingredients are simple. You’ll need a sturdy chocolate cake as your base, a batch of smooth ganache for the underlayer, and a carefully prepared glaze. High-quality cocoa powder and full-fat cream are key here, giving both shine and depth of flavor. A touch of powdered gelatine helps the glaze set while staying flexible. Optional decorations like gold leaf or dust add that festive sparkle. Below are the breakdowns for each step.
For the Cake Base
Start with one 20 cm (8-inch) two-layer chocolate cake. Choose a moist yet firm recipe that holds its structure well when chilled. Soft or airy cakes are not ideal for mirror glazes, as they collapse under the glaze’s weight.
For the Ganache
Prepare two batches of dark chocolate ganache, about 500 g (16 oz) in total. Ganache not only adds flavor but also gives a smooth, firm surface that helps the glaze flow evenly. Chill it before pouring the glaze for best results.
For the Mirror Glaze
You’ll need 2½ tablespoons cold water and 4 teaspoons powdered gelatine for blooming. Then ⅔ cup water, ⅔ cup full cream, 1 cup sifted unsweetened cocoa powder, and 1 cup plus 2 tablespoons superfine sugar. These ingredients form the silky glaze that sets to a glass-like shine.
Optional Decoration Ideas
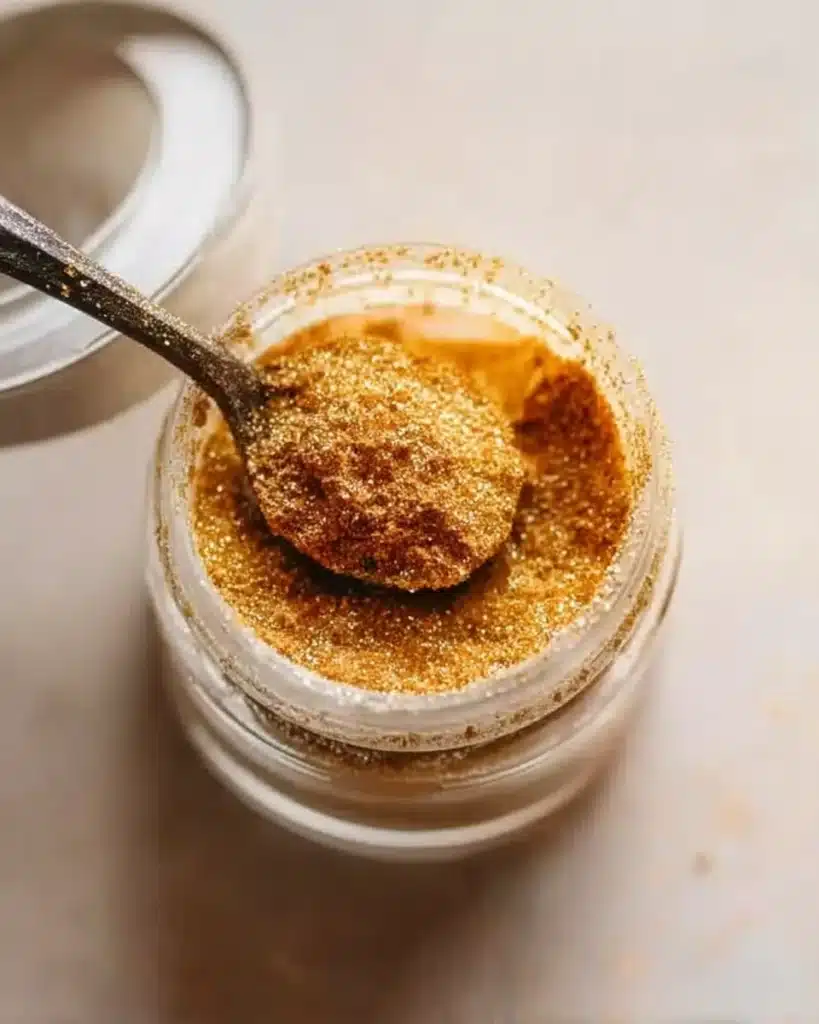
For a festive touch, add edible gold dust or gold leaf on top. It highlights the glossy finish and makes the cake sparkle under holiday lights.
Step-by-Step Instructions
Prepare and Chill the Cake
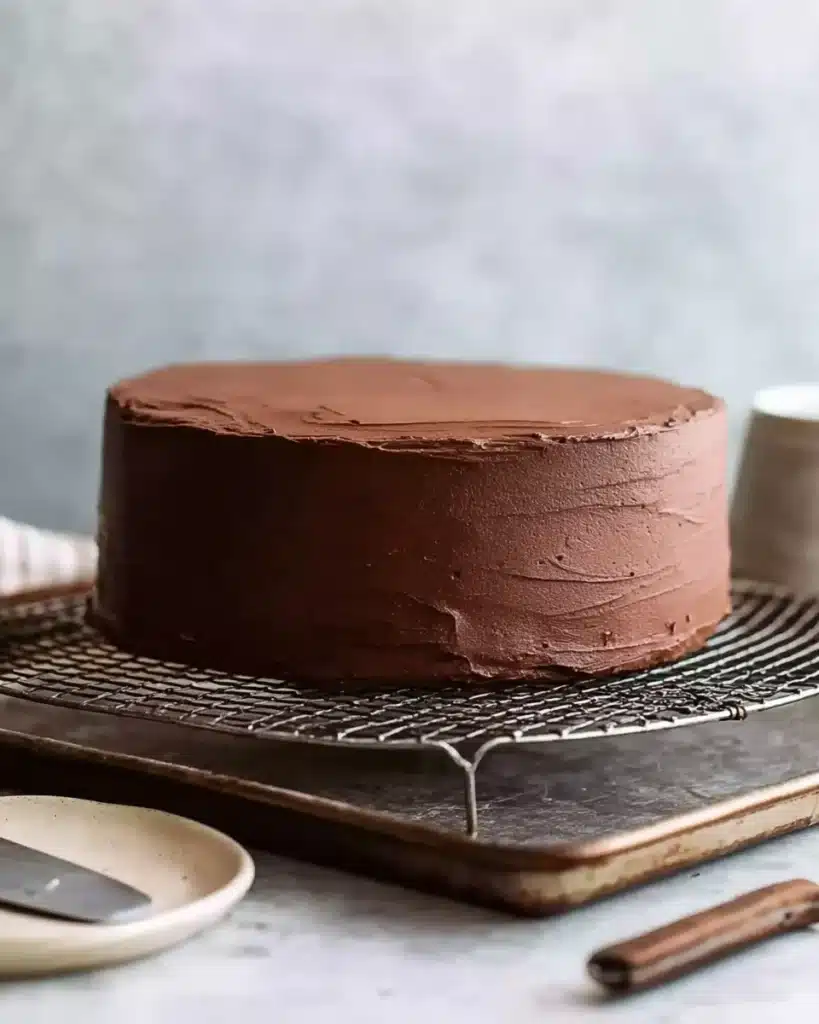
Begin by chilling your chocolate cake for at least one hour. This step is essential because a cold surface helps the glaze set quickly and evenly. Trim and level the layers so they stack neatly, then frost with a smooth layer of ganache. Chill again for another hour to firm up the surface before glazing. A well-chilled cake is your foundation for that flawless glass finish.
Bloom the Gelatine
Next, bloom the gelatine. Sprinkle 4 teaspoons of powdered gelatine over 2½ tablespoons of cold water. Let it sit for 5 minutes until it turns rubbery and soft. This ensures it dissolves smoothly later. Skipping this step or rushing it often leads to clumps in your glaze, so patience here pays off.
Make the Cocoa Mixture
In a medium saucepan, whisk together ⅔ cup water and 1 cup sifted cocoa powder. Stir until you have a lump-free paste. Add a splash of cream to loosen it, then stir in the rest of the cream and the sugar. Mix gently until combined. Avoid vigorous stirring, which creates air bubbles that can dull the final shine.
Add Gelatine and Achieve the Gloss
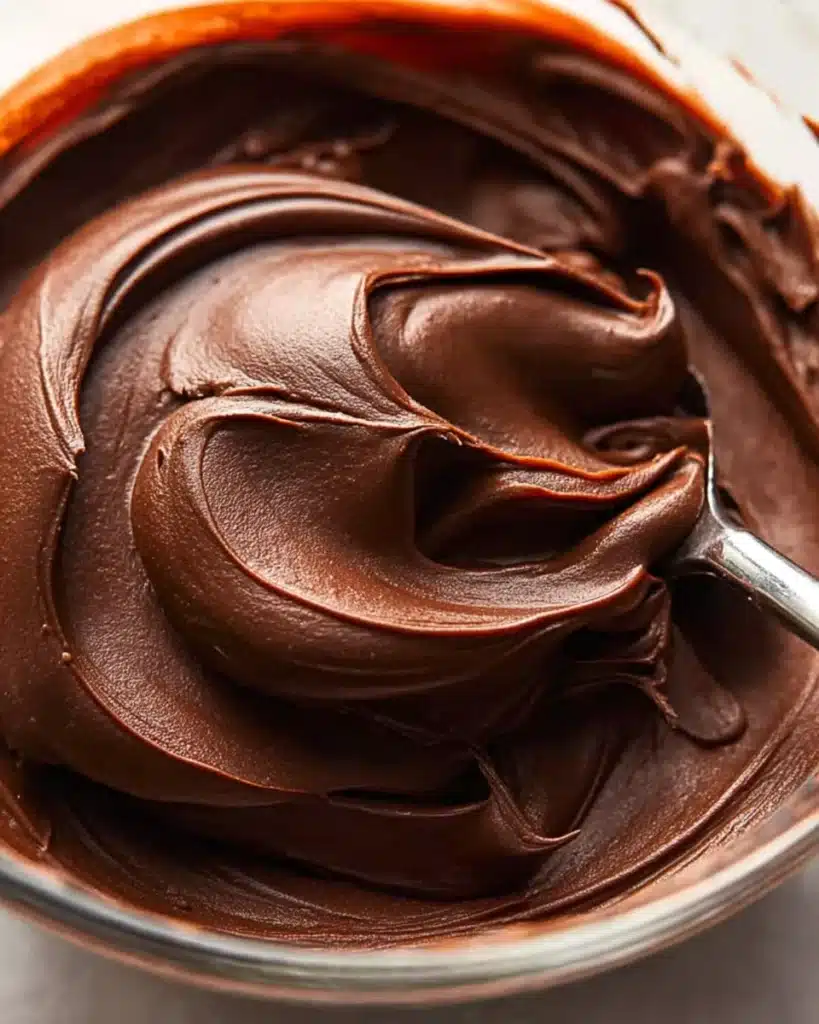
Bring the cocoa mixture to a gentle boil, then immediately remove from the heat. Add the bloomed gelatine and stir slowly until it dissolves completely. The glaze will start to look glossy and smooth at this stage. Be careful not to overmix or whip air into the glaze—gentle folding is the key to that mirror finish.
Strain and Cool the Glaze
Pour the glaze through a fine mesh strainer into a clean bowl. This removes any lumps or bubbles, leaving a silky texture. Cover with plastic wrap pressed directly onto the surface to prevent a skin from forming. Let the glaze cool at room temperature until it reaches 30°C (86°F), about two hours. Patience here ensures the glaze pours evenly without sliding off the cake.
Pouring the Mirror Glaze
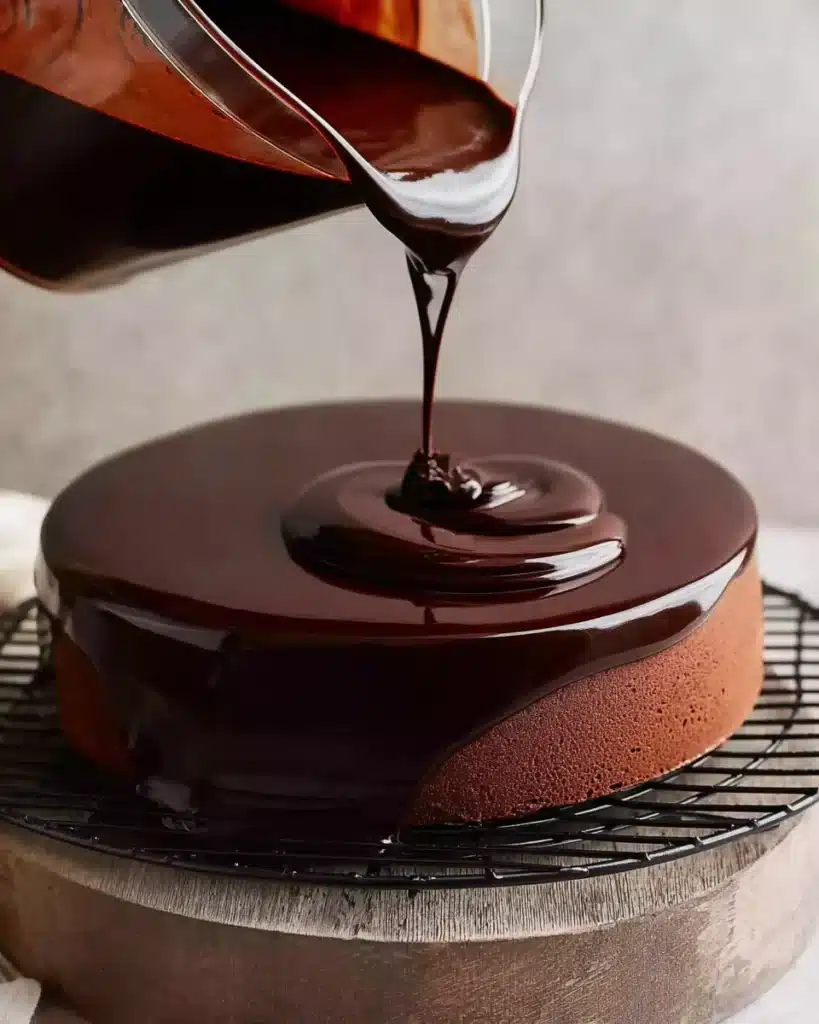
Place your chilled cake on a wire rack set over a tray to catch excess glaze. Pour the cooled glaze in a slow spiral motion from the center outward, letting it flow naturally over the edges. Do not spread it with a spatula—gravity does the work, creating that smooth, curtain-like finish. Work steadily, as once poured, the glaze begins to set within minutes.
Transfer, Decorate, and Smooth
After pouring, transfer the cake to a serving platter within 10 minutes to prevent sticking. If small blemishes appear, gently patch them with extra glaze and use a lightly warmed palette knife to smooth. Finish with gold leaf or dust for a festive sparkle. Keep the cake chilled until serving to preserve its shine.
Expert Tips for a Perfect Shine
Temperature Control
The pouring temperature is crucial. At 30°C (86°F), the glaze is fluid enough to spread smoothly but cool enough to cling without melting the ganache. Always check with a thermometer rather than guessing. Pouring too hot causes streaks, while too cold results in clumps.
Avoiding Air Bubbles and Lumps
Always sift the cocoa powder and strain the finished glaze. Stir gently rather than whisking. Vigorous mixing introduces air, which leads to bubbles that ruin the reflection.
Fixing Small Imperfections
If you spot tiny gaps or uneven spots, use leftover glaze while it’s still workable. A warmed palette knife helps smooth surfaces without damaging the shine. Avoid touching once fully set, as fingerprints or smudges are permanent.
Storage and Make-Ahead Instructions
Storing the Mirror Glaze
You can make the glaze ahead of time and store it refrigerated for up to 7 days or freeze it. Reheat gently over low heat, then strain again before using. This ensures it returns to a silky texture.
Storing the Finished Cake
A finished mirror-glazed cake stays fresh up to 6 days when stored in a cool environment below 22°C (72°F). Refrigeration is fine, but avoid covering the glaze directly as it sticks to wrap. Clean your knife with warm water between slices for perfect presentation.
Recipe Notes and Variations
Best Cake Types for Mirror Glaze
Dense chocolate cakes and ganache-based frostings work best, as they provide stability. Mousse cakes also work if chilled very well, but airy sponges collapse under the glaze.
Flavor Variations
Try adding coffee to the cocoa mixture for a mocha glaze, or use flavored extracts like peppermint or orange for a holiday twist. White chocolate versions can be tinted for colorful designs.
Common Mistakes to Avoid
Avoid low-fat cream, which prevents the glaze from setting properly. Do not use condensed milk or melted chocolate, as they create an overly sweet, dull coating. Always strain the glaze and keep utensils clean to avoid lumps or streaks.
Other Recipes You May Enjoy
- Pumpkin Cookies with Caramel Frosting
- Chocolate Peanut Butter Pie for Thanksgiving
- Apple Cheesecake Bars – Perfect Fall Dessert
- Easy Caramel Apple Cheesecake Dip
Conclusion
A chocolate mirror glaze may look intimidating, but once you follow these steps, you’ll see how simple it really is. The shine, the smoothness, and the rich chocolate taste all combine into a dessert worthy of a holiday table. Plus, it’s a recipe that can be prepared ahead, saving you time on Thanksgiving Day. Try this stunning glaze on your next cake, and your family will be amazed at the bakery-style results. If you love dessert inspiration, check out more ideas on Pinterest.

Chocolate Mirror Glaze
Equipment
- Saucepan For making the cocoa mixture
- Fine mesh strainer Removes lumps and bubbles from glaze
- Whisk For mixing cocoa and liquids smoothly
- Thermometer Check glaze temperature at 30°C (86°F)
- Wire rack and tray For pouring and catching excess glaze
- Palette knife To smooth patched areas
Ingredients
- 1 cake 20 cm (8-inch) two-layer chocolate cake
- 500 g dark chocolate ganache (about 16 oz)
- 2 ½ tbsp cold water (for blooming gelatine)
- 4 tsp powdered gelatine
- ⅔ cup water
- ⅔ cup pure or whipping cream (not low-fat)
- 1 cup unsweetened cocoa powder, sifted
- 1 cup + 2 tbsp white caster or superfine sugar
- Optional: edible gold dust or gold leaf for decoration
Instructions
- Chill the cake layers for at least 1 hour. Trim, level, and frost with ganache. Chill again for 1 hour.
- Sprinkle powdered gelatine over 2 1/2 tbsp cold water. Let sit for 5 minutes until rubbery.
- Whisk cocoa and water in a saucepan until smooth. Add a splash of cream, then the rest of the cream and sugar. Stir gently.
- Bring mixture to a boil. Remove from heat, add bloomed gelatine, and stir gently until smooth and glossy.
- Strain glaze into a bowl through a fine mesh strainer. Cover with cling wrap touching the surface. Cool to 30°C (86°F) at room temperature (about 2 hours).
- Place chilled cake on a rack over a tray. Pour glaze in a spiral from the center outward, letting it cover the cake naturally.
- Transfer cake to platter before glaze sets. Patch small blemishes with leftover glaze and smooth gently with a warmed palette knife. Decorate as desired.
