Craving something sweet and colorful for Valentine’s Day? These red velvet cookies are chewy inside, crisp at the edges, and full of white chocolate goodness. Their deep red hue and rich cocoa flavor make them a romantic favorite, while the easy prep means no waiting or chilling. You’ll love how quickly they bake and how beautifully they hold their color. Whether you’re gifting them to someone special or treating yourself, these cookies promise bakery-quality results at home. They’re simple, festive, and always a crowd-pleaser — the perfect way to say “I love you” with dessert.

Table of Contents
Why You’ll Love These Red Velvet Cookies
These red velvet cookies strike the perfect balance between chewy and soft. Each bite brings a gentle cocoa taste and a sweet hint of vanilla. They bake up with slightly crisp edges that give way to a fudgy center, making them irresistible. You don’t need special tools or chilling time — just basic ingredients and about 30 minutes. Their vibrant color looks beautiful on any dessert table, especially for Valentine’s Day or Christmas. They also store well, so you can bake them ahead of time. Whether you’re new to baking or an expert, these cookies deliver reliable, consistent results every time.
Ingredients You’ll Need
Dry Ingredients
You’ll mix flour, cocoa powder, and salt to create a light, chocolatey base. The cocoa gives that signature red velvet taste, while the flour adds structure. Salt balances the sweetness, keeping every bite flavorful.
Wet Ingredients
Butter, eggs, sugar, vanilla, and vinegar combine to make these cookies moist and rich. Melted butter keeps them chewy, while vinegar enhances the red color and gives that slight tangy finish that makes red velvet unique.
Mix-Ins and Coloring
Add red gel food coloring for a bold hue and white chocolate chips for creamy sweetness. The chips melt slightly during baking, adding soft pockets of flavor that pair perfectly with the cocoa.
How to Make Red Velvet Cookies Step by Step
Prep Your Oven and Baking Sheets
Preheat your oven to 350°F. Line a baking sheet with parchment paper so the cookies bake evenly and don’t stick.
Combine the Dry Ingredients
Whisk the flour, cocoa powder, and salt in a small bowl. This keeps the texture soft and prevents clumps.
Cream the Butter and Sugars
In a large bowl, mix melted butter, chopped chocolate, and sugar until smooth. The sugar helps form that slightly crisp exterior when baked.

Add Egg Yolks, Vanilla, and Red Coloring
Beat in the eggs one at a time, then stir in vanilla extract, vinegar, and red food coloring. The vinegar deepens the red tone and boosts the flavor balance.

Mix in the Dry Ingredients
Gradually add your dry mix to the wet one. Stir gently just until combined. Overmixing can make the cookies tough instead of soft and chewy.
Add the White Chocolate
Fold in the white chocolate chips for that sweet, creamy contrast. You can also reserve a few to press on top before baking for a pretty finish.
Portion and Bake the Cookies
Scoop small portions of dough onto the baking sheet, spacing them evenly. Bake for 10–12 minutes or until the edges are set and the centers look slightly underdone. They’ll firm up as they cool.

Cool and Serve
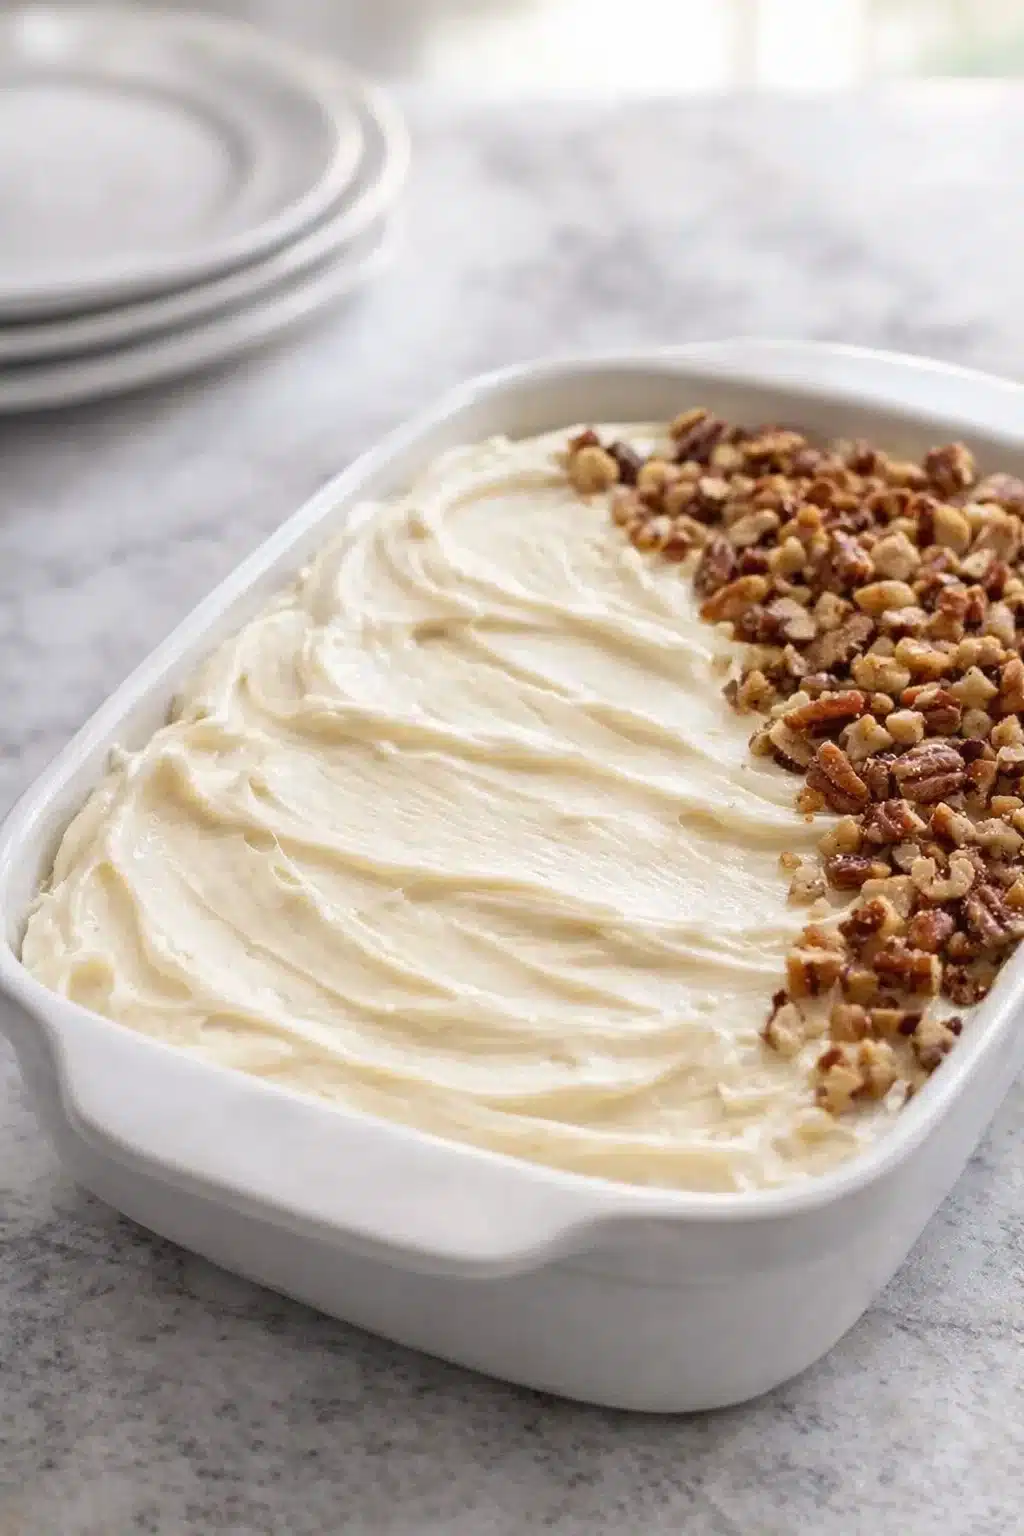
Let the cookies rest on the baking sheet for 5 minutes before transferring them to a rack. Once cooled, drizzle melted white chocolate for an elegant touch.

Tips for Perfect Red Velvet Cookies
How to Achieve Vibrant Red Color
Always use gel food coloring, not liquid. It gives intense color without thinning the batter.
Measuring Flour for Best Texture
Spoon flour into your measuring cup, then level it off. Too much flour makes cookies dry, while too little leaves them flat.
Getting Thick, Chewy Cookies
Avoid overmixing and don’t overbake. Slightly underdone centers keep that soft, fudgy bite.
How to Shape and Smooth Cookie Edges
If you want perfectly round cookies, lightly swirl a round cutter over them while warm. It smooths edges beautifully without affecting texture.
Make-Ahead, Storage, and Freezing Guide
Once baked, store these cookies in an airtight container at room temperature for up to 3 days. For longer storage, refrigerate them for a week or freeze up to 2 months. Thaw frozen cookies overnight in the fridge or at room temperature before serving. The dough also freezes well — scoop portions, freeze on a tray, then bag them once firm. Bake straight from the freezer by adding a few extra minutes to your baking time. The cookies stay soft and flavorful even after freezing, so they’re great for planning ahead or gifting.
Common Questions About Red Velvet Cookies
Can I use liquid food coloring?
You can, but it may alter texture and color depth. Stick to gel for best results.
Can I skip the vinegar?
It’s small but important! It boosts the red hue and adds that subtle tang.
Can I make them gluten-free?
Yes, use a cup-for-cup gluten-free flour blend.
Do they taste like chocolate cookies?
They’re milder, with a cocoa-vanilla flavor and slight tanginess.
Other Recipes You May Enjoy
- fudgy red velvet brownies for Valentine’s Day
- heart-shaped Valentine’s Caprese skewers
- chocolate raspberry truffles for romantic gifts
- pink velvet cupcakes Valentine’s treat
- mini red velvet cakes for Valentine’s Day
- the best jam cookies for Valentine’s Day
Conclusion
These red velvet cookies are a wonderful way to celebrate love and sweetness. With their soft texture, cocoa flavor, and beautiful red hue, they look as good as they taste. Bake them for someone special or simply to brighten your day. Pair them with coffee, gift them in cute boxes, or serve them next to your fudgy red velvet brownies for Valentine’s Day for an extra festive touch. Don’t forget to share your cookie creations on Pinterest — your friends will love them too.

Red Velvet Cookies
Equipment
- 8×8-inch baking pan Line with parchment paper
- Mixing bowls Separate wet and dry ingredients
- Whisk or hand mixer For mixing batter smoothly
- Spatula For folding and spreading
- Measuring cups and spoons For accuracy
- Cooling rack To cool cookies evenly
Ingredients
- ¾ cup unsalted butter, melted
- 2 oz semi-sweet chocolate bar, chopped
- 1 ¼ cups granulated sugar
- 2 large eggs
- 2 tsp vanilla extract
- 1 tsp white vinegar
- ½ tbsp red gel food coloring
- 2 tbsp unsweetened cocoa powder
- 1 ¼ cups all-purpose flour
- ¼ tsp salt
- ½ cup white chocolate chips (optional)
Instructions
- Preheat oven to 350°F and line an 8×8 inch pan with parchment paper.
- Melt butter and chopped chocolate in a microwave-safe bowl using 30-second intervals, stirring until smooth.
- Stir in sugar, then beat in eggs one at a time until fully incorporated.
- Mix in vanilla extract, white vinegar, and red food coloring.
- In a separate bowl, sift together cocoa powder, flour, and salt.
- Add dry ingredients to the wet mixture gradually, stirring just until combined. Do not overmix.
- Fold in white chocolate chips if using.
- Spread batter evenly into prepared pan and bake for 30–35 minutes or until a toothpick comes out with a few moist crumbs.
- Cool completely before slicing. Drizzle melted white chocolate on top if desired.