Spring Blossom Cookies are soft, chewy sugar cookies rolled in bright sanding sugar and topped with a chocolate Kiss. They look festive, taste buttery and sweet, and come together in just 17 minutes.

Table of Contents
Why You’ll Love These Spring Blossom Cookies
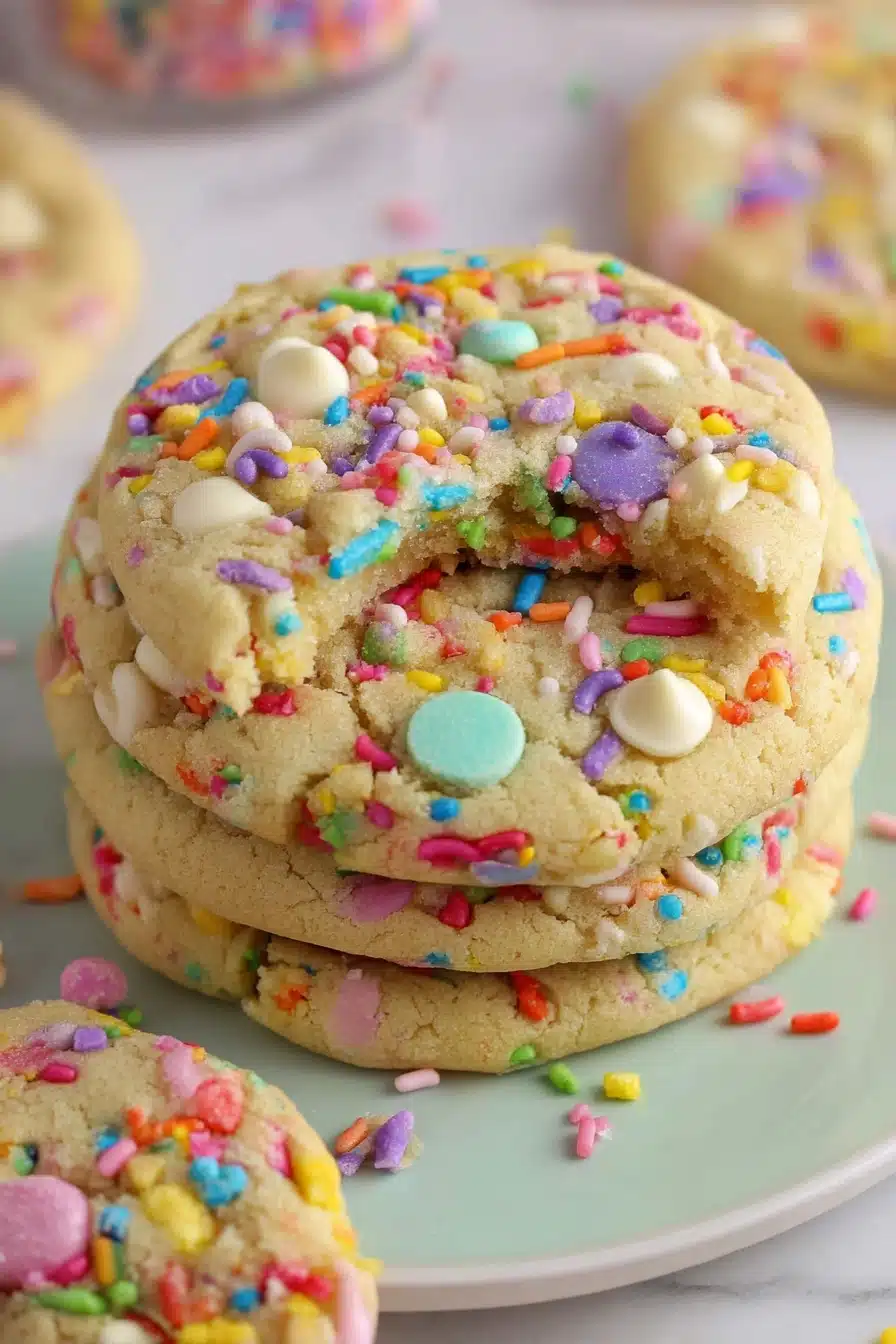
Spring Blossom Cookies bring color and joy to any Easter table. They bake up soft in the center, slightly crisp on the edges, and sparkle with bright sanding sugar. Then, right after baking, you press a chocolate Kiss into the center, which melts just enough to stick without losing its shape.
Because this recipe uses simple pantry staples, you can whip up Spring Blossom Cookies anytime. In fact, the dough mixes quickly, so they work perfectly for last minute baking. Also, the cheerful colors make them ideal for Easter parties, spring birthdays, or classroom treats.
Meanwhile, kids love helping roll the dough balls in sugar, so this recipe easily turns into a fun family activity. If you want a cookie that looks impressive yet feels simple and homemade, Spring Blossom Cookies always deliver.
Soft and Chewy Sugar Cookie Base
The base of Spring Blossom Cookies tastes rich and buttery. Because you cream the butter and sugar well, the cookies stay soft and tender. Also, the dough holds its shape while baking, so each cookie looks neat and uniform.
Bright, Festive Easter Colors
The sanding sugar gives Spring Blossom Cookies their signature sparkle. You can choose pastel pink, yellow, blue, or green for a classic Easter feel. As a result, your cookie tray instantly looks cheerful and party ready.
Quick 17 Minute Recipe
Spring Blossom Cookies take about 10 minutes to prep and only 7 minutes to bake. Therefore, you can have 24 beautiful cookies ready in roughly 17 minutes from start to finish.
Ingredients You’ll Need
Spring Blossom Cookies use everyday baking ingredients, which makes them simple and budget friendly. Because the list stays short, each ingredient plays an important role in flavor and texture.
Cookie Dough Ingredients
Granulated sugar adds sweetness and helps create lightly crisp edges. Meanwhile, salted butter brings rich flavor and keeps the texture soft. Make sure the butter feels softened, not melted, so it creams smoothly with the sugar.
Next, one large egg binds the dough and adds moisture. Vanilla extract adds warm flavor, and even one teaspoon makes a big difference.
All purpose flour forms the structure of Spring Blossom Cookies. Also, baking soda helps the cookies rise slightly and stay soft in the center. If you only have unsalted butter, simply add a small pinch of salt to balance the sweetness.
Decorative Topping
Bright colored sanding sugar coats each dough ball and creates that sparkling finish. As a result, Spring Blossom Cookies look festive without extra decorating.
You also need 24 unwrapped Hershey’s Kisses. Press one into each cookie right after baking. If you want a fun twist, try Birthday Cake Kisses for a playful flavor variation.
How to Make Spring Blossom Cookies Step by Step
Making Spring Blossom Cookies feels simple and fun. Because the steps move quickly, it helps to read through everything first.
Prep the Oven and Baking Sheet
First, preheat your oven to 375°F. Then, line a baking sheet with parchment paper so the cookies release easily. Meanwhile, unwrap all Hershey’s Kisses and set them aside.
Cream the Wet Ingredients
In a large bowl, cream together the granulated sugar and softened butter. Mix until smooth and fluffy. Next, add the egg and vanilla extract. Continue mixing until fully blended and creamy.
Combine the Dry Ingredients
In a separate bowl, whisk together the all purpose flour and baking soda. This step spreads the baking soda evenly, so the cookies bake consistently.
Form the Dough
Gradually add the dry mixture into the wet ingredients. Mix just until a soft dough forms. However, do not overmix, or the cookies may turn dense.
Roll and Coat in Sanding Sugar
Scoop the dough and form 1 inch balls with your hands. Then, roll each ball generously in bright sanding sugar. Place them on the prepared baking sheet with a little space between each one.
Bake and Add the Chocolate Center
Bake the cookies for about 7 minutes. They should look set but still soft in the center. Immediately after removing them from the oven, press a Hershey’s Kiss gently into the middle of each cookie.
Cool Completely
Let the cookies cool fully on the baking sheet. Meanwhile, the chocolate will soften and then firm up again. Once set, your Spring Blossom Cookies are ready to serve.

Tips for Perfect Blossom Cookies
Even though Spring Blossom Cookies are simple, a few small tips make them even better.
Don’t Overbake
Spring Blossom Cookies should look slightly underdone in the center when you remove them. Because they continue to cook on the hot pan, they firm up as they cool. If you bake too long, they lose that soft and chewy texture.
Press the Kiss Gently
When you press the chocolate into the cookie, use light pressure. The cookie will crack slightly around the edges, and that is completely normal. However, pressing too hard may flatten the cookie too much.
Let Them Cool Before Serving
Although it feels tempting to move them right away, let Spring Blossom Cookies cool completely. During this time, the chocolate sets firmly in place. As a result, the cookies look neat and hold their shape beautifully.
Variations and Flavor Ideas
Spring Blossom Cookies adapt easily, so you can change the look or flavor depending on the occasion.
Birthday Cake Blossom Cookies
Swap the classic milk chocolate Kisses for Birthday Cake flavored ones. As a result, Spring Blossom Cookies taste extra sweet and festive, which works perfectly for spring birthdays.
Pastel Easter Color Themes
Use coordinated pastel sanding sugars for a soft Easter palette. Meanwhile, you can match the colors to your decorations or Easter baskets for a cohesive dessert table.
Chocolate or Vanilla Sugar Base Twists
Add a tablespoon of cocoa powder for a light chocolate sugar cookie base. Or, increase the vanilla slightly for deeper flavor. Because the base stays simple, small changes create fun new results.
Storage and Make Ahead Tips
Spring Blossom Cookies stay fresh at room temperature in an airtight container for about 4 to 5 days. Therefore, you can bake them ahead for Easter gatherings without stress.
You can also freeze baked Spring Blossom Cookies. Place them in a freezer safe container, and freeze for up to 2 months. Thaw at room temperature before serving.
Meanwhile, you can freeze the unbaked dough balls without the sanding sugar. When ready to bake, let them thaw slightly, roll in sugar, and bake as directed.
This recipe yields 24 cookies and takes about 17 minutes total, so it fits easily into busy spring schedules.
Frequently Asked Questions
Can you freeze cherry blossom cookies?
Yes, you can freeze Spring Blossom Cookies after baking. Store them in an airtight container and thaw at room temperature before serving.
Can blossom cookies be frozen?
Absolutely. Both baked cookies and unbaked dough balls freeze well, which makes them perfect for make ahead baking.
Why are they called blossom cookies?
They are called blossom cookies because the chocolate center sits on top like a flower bloom. The bright sanding sugar adds to the spring blossom look.
What is spring blossom?
Spring blossom refers to flowers blooming in spring. These cookies mimic that look with colorful sugar and a chocolate center.
Other Recipes You May Enjoy
- Spring Blossom Cookies
- Easter Basket Sugar Cookie Cups recipe
- Easter Dirt Cups easy festive treat
- Easter Bunny Punch refreshing drink
- Banana Pudding Easter Truffles dessert
- Easter Egg Cheesecake no bake dessert
Conclusion
Spring Blossom Cookies make Easter baking simple, colorful, and fun. Because they use basic ingredients and bake in just minutes, you can prepare them even on a busy day. Meanwhile, the sparkling sugar and chocolate center make them look festive and special.
Whether you bake them with kids, bring them to a spring party, or add them to your Easter dessert table, Spring Blossom Cookies always bring smiles. So grab your mixing bowl, roll those dough balls in bright sugar, and enjoy every soft, sweet bite.
For even more colorful and family friendly ideas, you can also find inspiration on Pinterest at pinterest.

Spring Blossom Cookies
Equipment
- Mixing bowl
- Baking sheet Line with parchment paper
- Hand or stand mixer
- Whisk
Ingredients
- 1 cup granulated sugar
- ¾ cup salted butter, softened
- 1 large egg
- 1 teaspoon vanilla extract
- 2 ¼ cups all-purpose flour
- 1 teaspoon baking soda
- bright colored sanding sugar
- 24 Hershey’s Kisses, unwrapped
Instructions
- Preheat the oven to 375°F. Line a baking sheet with parchment paper and unwrap all Hershey’s Kisses.
- Cream together the granulated sugar and softened butter until smooth and fluffy. Add the egg and vanilla extract and mix until fully blended.
- In a separate bowl, whisk together the flour and baking soda. Gradually mix the dry ingredients into the wet mixture until a dough forms.
- Form the dough into 1-inch balls. Roll each ball in bright sanding sugar and place on the prepared baking sheet.
- Bake for about 7 minutes, until the cookies are set but still soft in the center.
- Immediately press one Hershey’s Kiss into the center of each cookie. Let the cookies cool completely so the chocolate sets before serving.