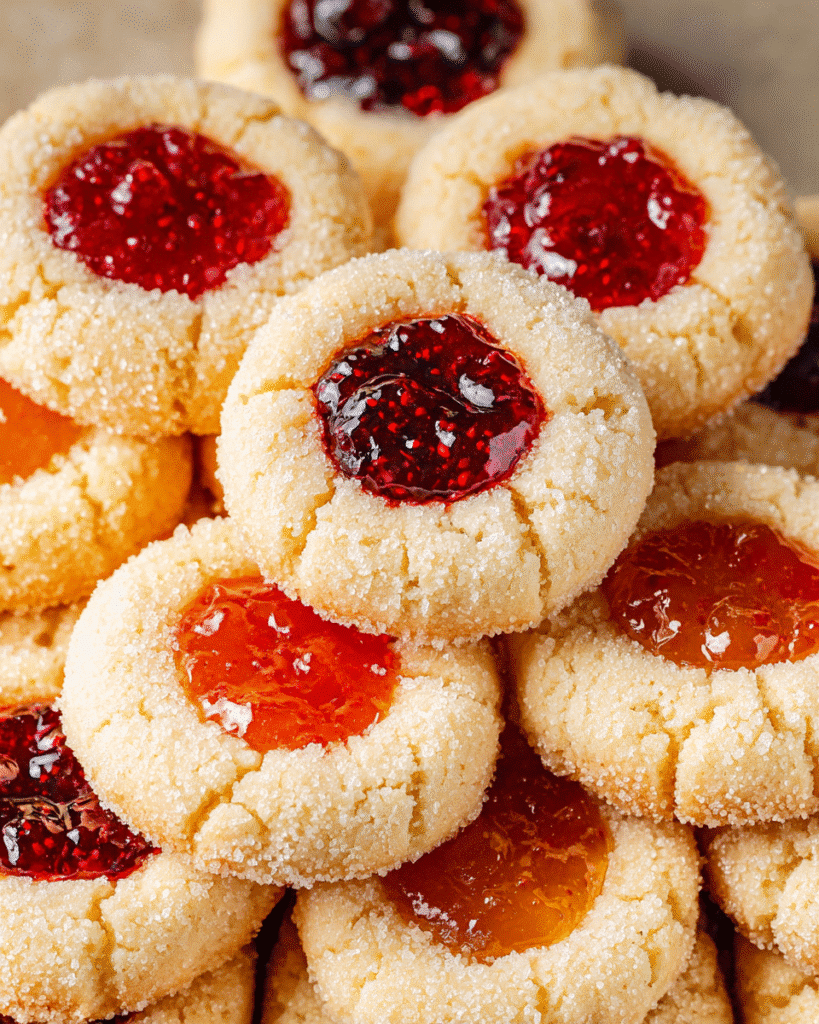
These buttery Thumbprint Cookies are soft, golden, and filled with sweet jam that glistens like holiday jewels. They’re easy to make, wonderfully rich, and perfect for gifting or sharing at Christmas gatherings. Each bite melts in your mouth, balancing buttery shortbread with fruity sweetness that feels festive and cozy.

Table of Contents
Why You’ll Love This Thumbprint Cookies Recipe
You’ll love these Thumbprint Cookies for their simplicity and charm. There are no eggs or leavening agents, which means the cookies hold their perfect round shape while baking. The buttery base gives them a rich, melt-in-your-mouth texture that pairs beautifully with any jam you choose. You can easily switch flavors—raspberry, apricot, or strawberry all add a colorful and delicious twist. They’re also freezer-friendly, so you can bake ahead for the holidays. Plus, their jewel-like centers make them look just as lovely as they taste. Whether you’re hosting a cookie exchange or planning Christmas dessert trays, these cookies bring instant cheer and sweetness to every bite.
Ingredients You’ll Need
Every ingredient in these Thumbprint Cookies has a purpose. Start with unsalted butter for that rich, creamy flavor. Granulated sugar sweetens and helps create the light, crisp edges. Vanilla or almond extract adds a warm aroma—choose almond for a bakery-style twist. Kosher salt balances the sweetness and deepens the buttery flavor. All-purpose flour gives structure while keeping the cookies tender. The jam is the highlight—use thick, high-quality varieties like apricot or seedless raspberry for best results. You’ll also roll the dough in extra sugar for a delicate crunch. Optional toppings like powdered sugar or a light drizzle of icing make them extra festive and pretty on your holiday dessert table.
Step-by-Step: How to Make Thumbprint Cookies
Make the Dough
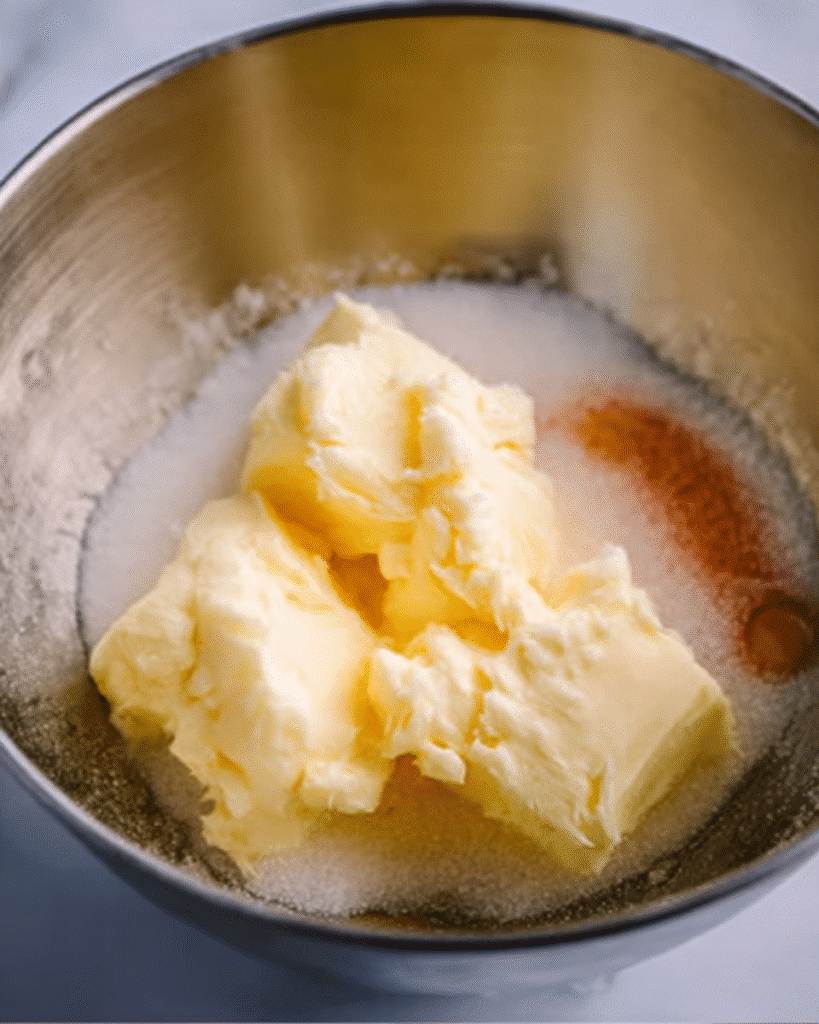
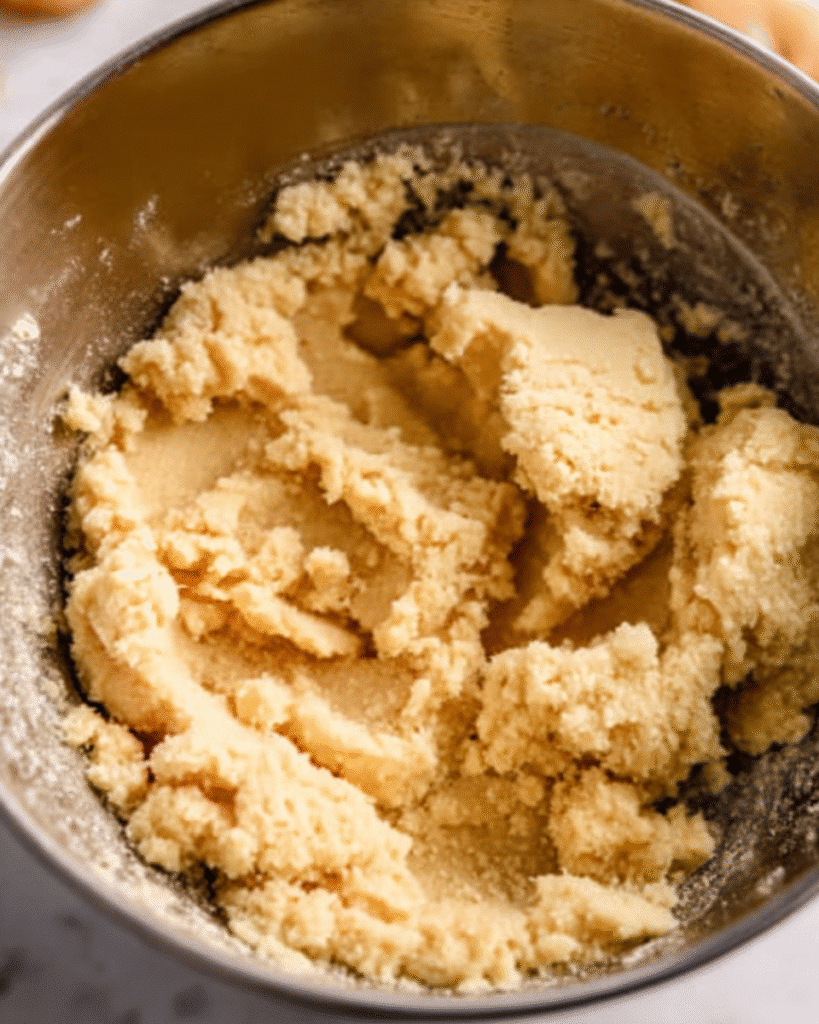
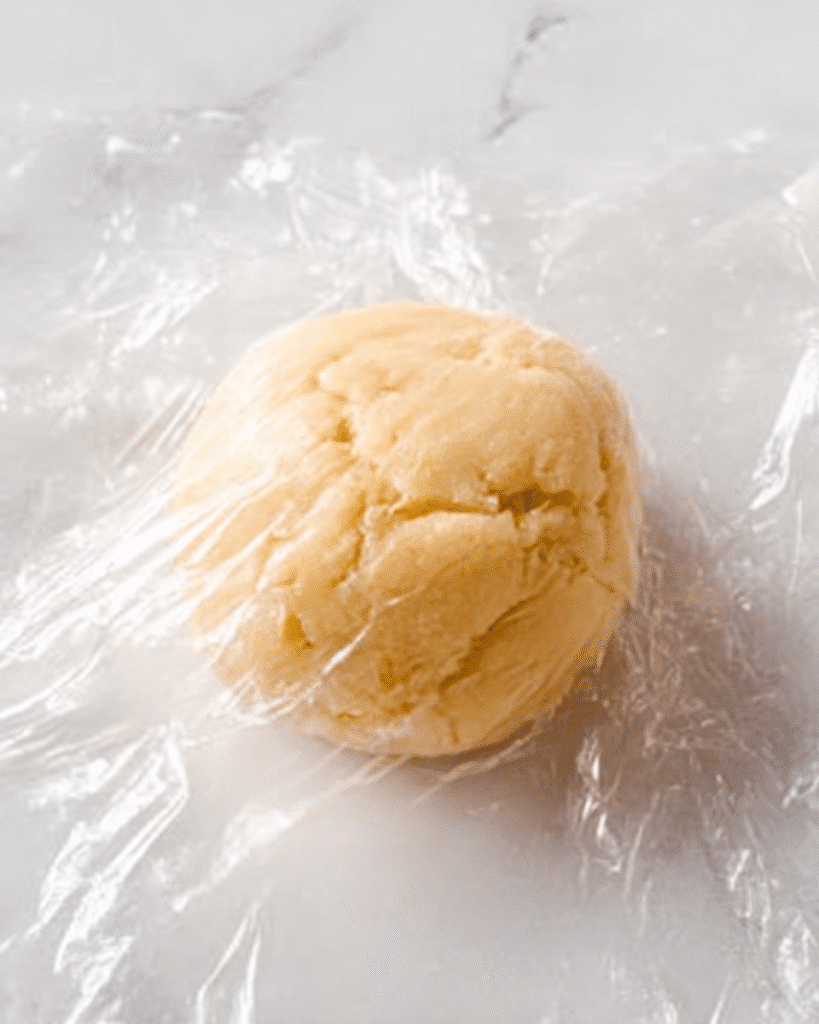
Begin by creaming the butter and sugar together for two to three minutes until pale and fluffy. This step is key for that soft texture. Next, mix in vanilla extract and salt, scraping the bowl as needed. Gradually add flour on low speed until the dough just comes together. It should feel smooth but not sticky. Shape it into a ball, wrap it in plastic, and chill in the refrigerator for one hour. Chilling helps the cookies keep their shape and prevents spreading.
Shape and Fill
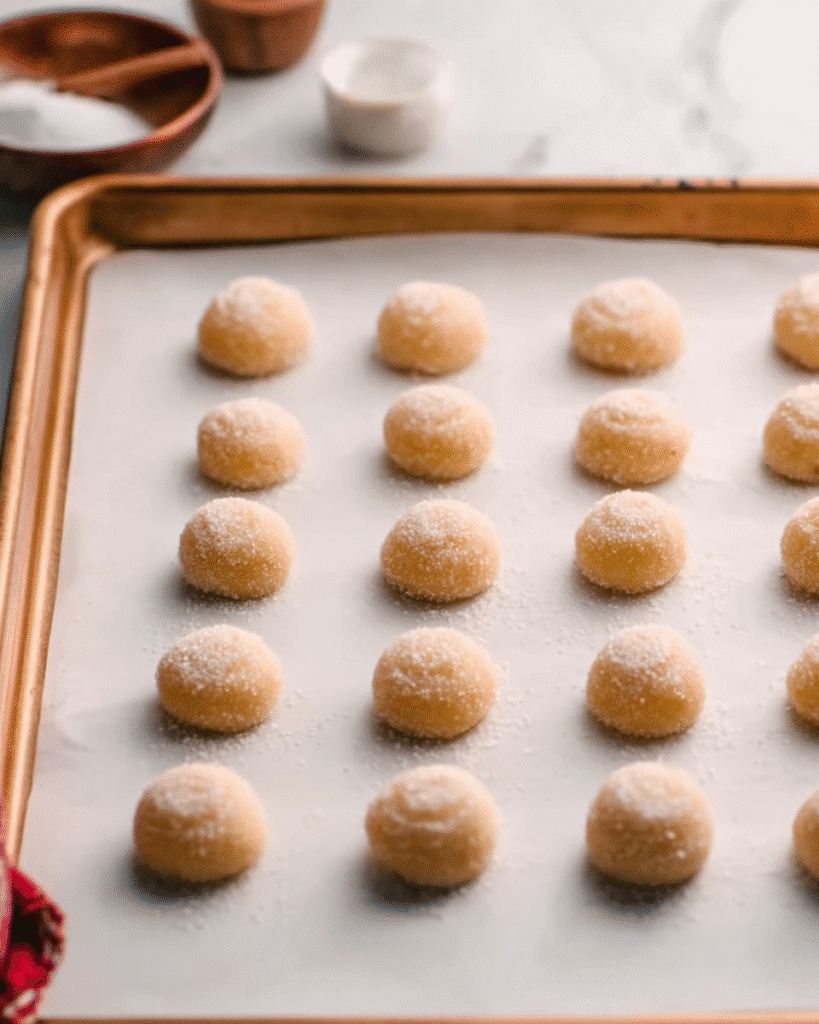
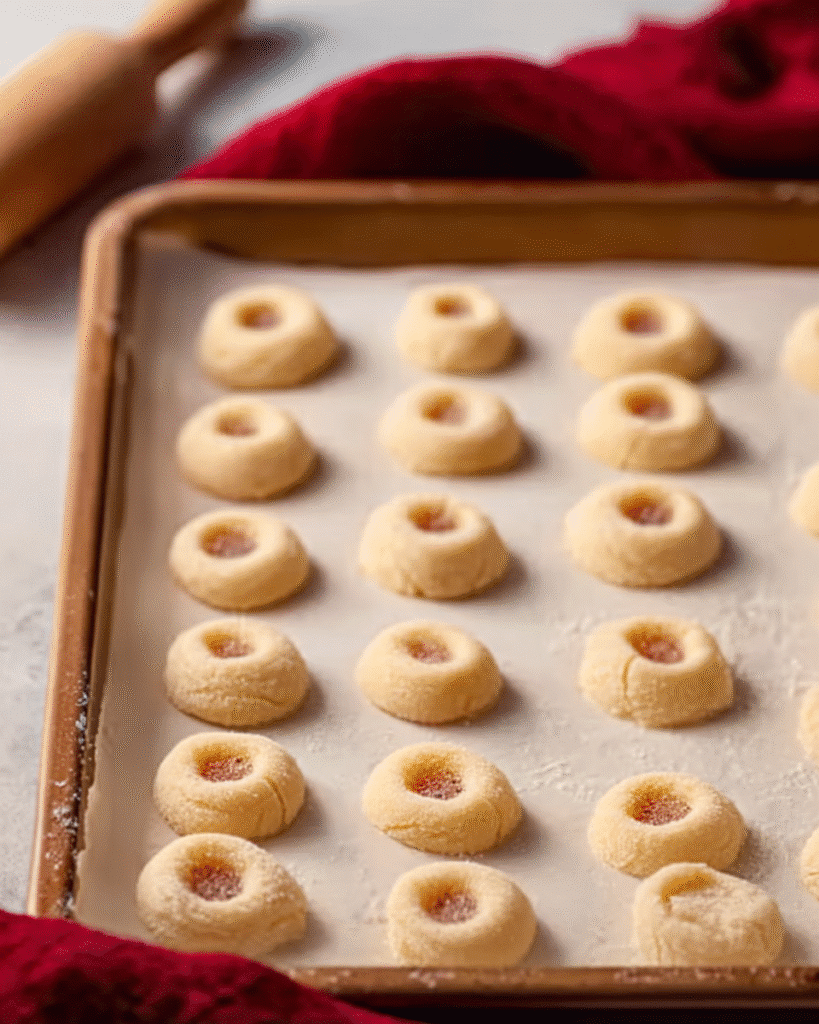
Once chilled, preheat the oven to 350°F and line your baking sheets with parchment paper. Scoop out one-tablespoon portions of dough and roll them into small, even balls. Coat each ball lightly in sugar for a crisp, sparkling finish. Arrange them on the prepared baking sheets, then gently press a thumbprint in the center of each one. Spoon about half a teaspoon of jam into every indentation—just enough to fill without spilling over.

Bake and Cool
Bake the cookies for 14 to 15 minutes until the edges start turning golden brown. They should still look pale in the center. Cool the cookies on the sheet for one minute, then transfer them to a wire rack. Let them cool completely so the jam sets nicely. Once cool, dust with powdered sugar or drizzle with icing if desired.

Recipe Tips & Variations
If your dough feels sticky, chill it again for 10 to 15 minutes before shaping. Always start with cold dough to prevent spreading. Avoid overfilling the jam wells to keep them neat and glossy instead of bubbling over. You can also experiment with different extracts—try almond or even lemon for a bright twist. For jams, raspberry, apricot, strawberry, cherry, or orange marmalade work beautifully. Add festive flair by drizzling white icing once cooled or dusting with powdered sugar for a snowy finish. You can even skip the sugar coating for smoother cookies. Each variation keeps the same buttery shortbread feel but gives a new flavor experience every time.
Storage and Freezing Instructions
Keep your Thumbprint Cookies fresh by storing them in an airtight container at room temperature for three to five days. They’ll stay soft and flavorful. You can also refrigerate them for up to one week. For longer storage, freeze the baked cookies for up to one month, or freeze unbaked dough for up to three months. If freezing dough, shape it first, then thaw overnight in the fridge before baking. To refresh frozen baked cookies, warm them at 300°F for a few minutes until soft. Always use thick jam when baking since thin or runny ones can spread during freezing or baking.
Other Recipes You May Enjoy
- Christmas Tree Garlic Bread recipe
- Fudgy and chewy Brookies for the holidays
- Cranberry Nut Bread for your festive table
- Classic Beef Bourguignon for Christmas dinner
Conclusion
Thumbprint Cookies bring sweetness and nostalgia to every Christmas celebration. They’re buttery, beautiful, and easy to bake ahead, which makes them ideal for sharing or gifting. The best part is how simple and customizable they are—switch up the jam or finish with a drizzle of icing for a festive touch. These cookies always look impressive on a platter yet come together with basic ingredients and minimal effort. Bake a batch, pour some cocoa, and enjoy the holiday season with these timeless, melt-in-your-mouth treats. For more holiday ideas and baking inspiration, visit my Pinterest board.

Thumbprint Cookies
Equipment
- electric mixer For creaming butter and sugar
- Mixing bowls For dough preparation
- Baking sheets Lined with parchment paper
- Wire rack For cooling cookies
- Measuring cups and spoons
Ingredients
- 1 cup unsalted butter, room temperature
- ⅔ cup granulated sugar
- 1 teaspoon vanilla extract or almond extract
- ½ teaspoon kosher salt
- 2 cups all-purpose flour
- ¼ cup jam (raspberry, apricot, or your favorite)
- ⅓ cup granulated sugar, for coating
Instructions
- Cream butter and sugar for 2–3 minutes until light and fluffy. Mix in vanilla and salt. Gradually add flour on low speed until dough forms.
- Shape dough into a ball, wrap in plastic, and chill for 1 hour. Preheat oven to 350°F and line baking sheets with parchment paper.
- Roll 1-tablespoon portions of dough into balls, coat in sugar, and place on prepared sheets. Press a thumbprint into each and fill with ½ teaspoon jam.
- Bake 14–15 minutes until edges start to brown. Cool 1 minute on sheets, then transfer to wire racks to cool completely.

